

Roof Inspection Checklist for Homeowners: What to Look For
Your roof works hard to protect your home, but how often do you check to make sure it’s in good shape? Regular roof inspections can save you thousands of dollars in repairs and help extend your roof’s lifespan. This roof inspection checklist will walk you through everything you need to know to keep your home safe and secure.
Whether you’re doing a quick seasonal check or considering a professional inspection, we’ll cover the key areas to examine, warning signs to watch for, and when to call in the experts. Here’s what we’ll explore:
- Essential safety considerations before you start
- How to perform a thorough roof inspection
- Common roofing issues and their warning signs
Safety First: Preparing for Your Roof Inspection

Before you grab a ladder, safety should be your top priority. Roof inspections can be dangerous, especially if you’re not experienced with heights or proper safety equipment.
Start by checking the weather conditions. Never attempt a roof inspection during wet, windy, or icy conditions. These conditions make surfaces slippery and increase your risk of falls. Choose a clear, calm day with good visibility.
If you decide to climb onto your roof, use a sturdy ladder placed on level ground. Have someone spot you from below, and wear non-slip shoes with good grip. Consider using a safety harness if you have one available.
However, many inspection tasks can be completed safely from the ground using binoculars. You can also check your roof from inside your attic or from upper-story windows. Remember, if you’re not comfortable with heights or notice significant damage, it’s always better to call a professional roofing contractor.
Exterior Roof Inspection: Key Areas to Check
- Shingles and Roofing Materials:
- Look for missing, cracked, curling, or cupped shingles.
- Check for granules missing from asphalt shingles—signs of aging or weather damage.
- Inspect metal roofs for rust, dents, or loose panels.
- On flat roofs, check for cracks, blistering, or pooling water that doesn’t drain within 24 hours.
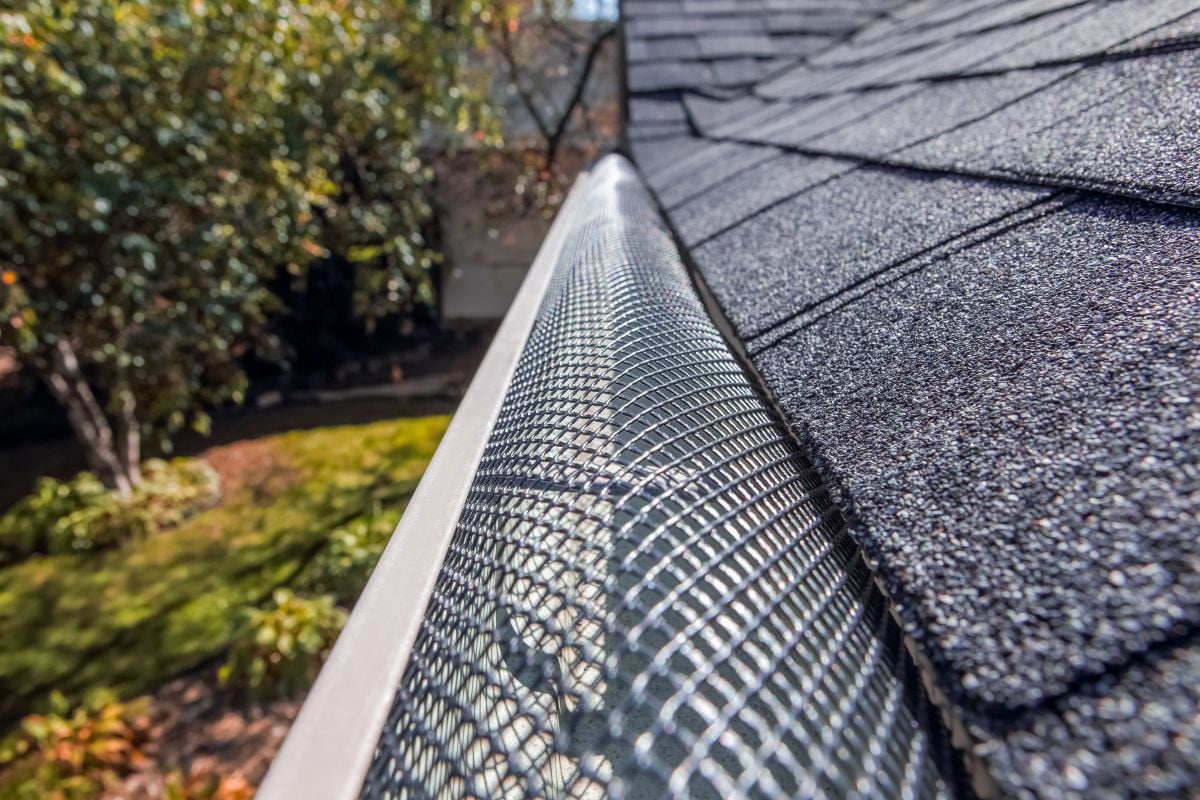
- Gutters and Drainage Systems:
- Make sure gutters are clean and free of clogs, rust, or damage.
- Ensure gutters are securely attached and not pulling away from the roofline.
- Check downspouts to confirm water is directed at least four feet away from your foundation.
- Flashing and Seals:
- Inspect flashing for rust, cracks, or areas pulling away from surfaces around chimneys, vents, and skylights.
- Check caulk and sealants for cracks or gaps; replace brittle or damaged materials to prevent or repair leaks.
6 Step Roof Inspection Process

Follow this systematic approach to ensure you don’t miss important areas during your roof inspection:
1. Start with a Ground-Level Assessment
Begin your roof inspection by walking around your home’s exterior perimeter. Pay close attention to every angle of the roof to identify any issues that stand out. Use binoculars to get a detailed view of areas that are hard to see from the ground, such as the peak of the roof or corners tucked behind obstructions. Look for missing or damaged shingles, discoloration, debris buildup, or any unusual wear and tear. Take clear photos of any areas of concern so you can reference them later or share them with a roofing professional. This initial step provides a solid foundation for understanding the current state of your roof.
2. Check the Roof Structure
Your roof’s structure is critical for its integrity, so carefully assess its overall shape and condition. Stand back to view the roofline—it should appear straight and consistent. If you notice sagging areas, bowing, or dips, this could indicate significant structural problems, such as weakened supports, rotting wood, or damage caused by water infiltration. Also, keep an eye out for curling shingles or uneven surfaces, which could signal underlying issues. These structural concerns may require immediate professional evaluation to prevent further damage to your home’s foundation and roof system.
3. Examine All Roof Penetrations
Roof penetrations, like chimneys, vents, skylights, and satellite dishes, are particularly vulnerable spots for water leaks and other damage. Inspect each penetration carefully to ensure the surrounding seals and flashing—a thin metal material installed to prevent leaks—are secure and in good condition. Look for cracked, loose, or missing flashing, as well as any visible gaps where water could seep through. If you have a chimney, check its mortar and bricks for cracks or crumbling. Proper maintenance of roof penetrations is essential to keep your roof watertight and functioning properly.
4. Inspect Roof Edges and Eaves
The edges of your roof, the soffits, the fascia, and the eaves are often overlooked but play a vital role in protecting your home. Examine these areas for loose, cracked, or damaged materials, such as shingles, fascia boards, and soffits. Fascia boards, which support your gutter system, should be free of rot, warping, or pest damage. Soffits, located beneath the eaves, should be intact and free of holes or signs of animal intrusion. Any damage to these areas can compromise your gutters’ ability to direct water away from your home, potentially leading to leaks and structural damage.
5. Document Your Findings
As you go through your roof inspection, take detailed notes about any issues you uncover. Use your photos to highlight concerning areas, such as damaged shingles, sagging sections, or leaks around penetrations. Be as specific as possible, noting the exact location and severity of each problem. This documentation will help you track changes over time, ensuring you stay on top of maintenance needs. Additionally, sharing this information with a roofing contractor can streamline repairs, as professionals will be able to assess the situation efficiently and provide accurate solutions based on your findings.
6. Create a Maintenance Schedule
Once your inspection is complete, use your findings to establish a maintenance schedule. Plan regular inspections—ideally at the start of each season—to catch issues early before they escalate. For example, check your roof after heavy storms to ensure no damage has occurred. Address repairs promptly to avoid small problems turning into costly repairs later. Routine maintenance, such as cleaning gutters, replacing damaged shingles, and resealing penetrations, will prolong your roof’s lifespan and ensure it continues to protect your home effectively. Your schedule should also include periodic professional inspections to address any issues you might miss.
Common Roofing Issues and Warning Signs

Understanding common roof problems helps you know what to look for during inspections. Here are the most frequent issues homeowners encounter:
Weather-Related Damage
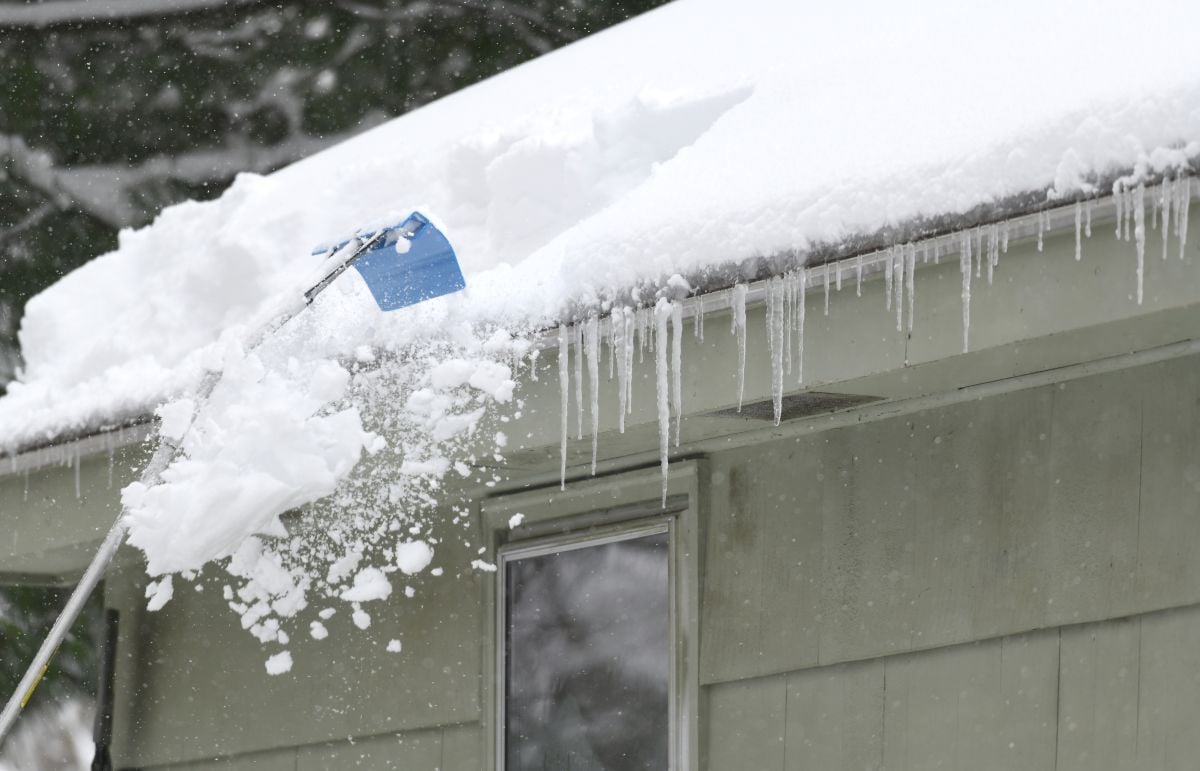
Storm damage is one of the leading causes of roof issues and can happen in a variety of ways depending on the severity and type of weather. High winds have the ability to lift or completely tear off shingles, leaving your roof exposed to water damage. Hailstorms can create dents, cracks, or even punctures in roofing materials, weakening their integrity and reducing their lifespan. Heavy snowfall poses yet another threat, as the weight of accumulated snow can place immense stress on the roof structure, potentially pushing it beyond its design limits and causing sagging or even collapse.
After severe weather events, it’s crucial to inspect your roof for signs of damage. Look for missing or damaged shingles that might have been blown off by strong winds. Examine gutters, downspouts, or metal roofing for dents, which could indicate hail damage. Ice dams are another issue caused by the melting and refreezing of snow along the edges of the roof, creating blockages that prevent water from draining properly. This water backup can seep under shingles, leading to leaks and eventual structural damage. Addressing weather-related damage promptly can prevent long-term issues and costly repairs.
Age-Related Wear
No roof lasts forever. Over time, roofing materials deteriorate naturally, even without exposure to extreme weather. Asphalt shingles, the most common type of roofing material, typically last between 20 and 30 years under ideal conditions. Metal roofing, on the other hand, is more durable and can last anywhere from 40 to 70 years, depending on the quality of the material and installation. However, as roofs age, they become increasingly less effective at withstanding the elements, making them more vulnerable to weather events and general wear and tear.
Common signs of aging include granule loss on asphalt shingles, which can often be observed in gutters as small, sand-like particles. Roofing materials may also become brittle over time, making them more prone to cracking or breaking under stress. An older roof will often develop small leaks more frequently, even during minor weather events. If your roof is nearing the end of its expected lifespan, it’s wise to start budgeting and planning for a replacement before major issues arise. Proactive replacement ensures you avoid emergency repairs and maintain the structural integrity of your home.
Poor Installation or Maintenance
A roof is only as strong as its installation. For that, the essentials are: finding the right team of roofers, which will have the proper roofing tools to make a durable installation with the chosen high-quality materials. Improper installation practices can lead to a range of problems that may shorten the roof’s lifespan or cause premature failure. For instance, uneven shingle lines not only look unappealing but can also make the roof less resistant to wind and water. Improperly installed flashing—a critical component that seals roof joints, chimneys, skylights, and vents—can allow water to seep through, causing leaks and water damage. Inadequate ventilation is another common issue from poor installation, leading to moisture buildup in the attic, which can damage insulation and promote mold growth.
Even a correctly installed roof requires regular maintenance to function optimally. Neglecting maintenance can allow minor problems to turn into major headaches. Clogged gutters, for example, prevent proper water drainage, leading to water pooling on the roof or around the foundation. Damaged flashing left unrepaired can allow small leaks to worsen, potentially causing rot or interior water damage. Regular inspections and maintenance, such as cleaning gutters, replacing damaged shingles, and ensuring proper flashing, are essential for extending the lifespan of your roof and avoiding costly repairs.
By addressing weather-related damage, monitoring age-related wear, and ensuring proper installation and maintenance, you can keep your roof in excellent condition, protecting your home from the elements for years to come.
Protecting Your Home with Regular Inspections
In conclusion, following a roof inspection checklist is essential for maintaining the safety and longevity of your home. At ROOF TIGER, we pride ourselves on being the team you can trust for all your roofing needs. With years of experience, honest recommendations, and a commitment to quality, we ensure your roof remains your home’s strongest protector.
Whether it’s a routine inspection, repairs, or a full roof replacement, our expert team is here to guide you every step of the way. Don’t wait until small issues become costly problems—contact ROOF TIGER today for a free inspection and experience roofing done right!!


Ferocious Roofing

They are extremely professional and responsive, made some great suggestions along the way, and handled every little issue that came up without complaint.