
Flat Roof Solar Installation (Steps, Benefits & Tips)
Switching to solar is one of the most impactful decisions you can make for your home—and if you own a flat-roofed property in Chapel Hill, NC and surrounding areas, you’re in a unique position to take full advantage. Flat roofs provide a wide, accessible space ideal for energy production, and thanks to modern mounting systems, a flat roof solar installation can be just as efficient (if not more) than pitched roof setups. Knowing how this process works, what benefits it brings, and which pitfalls to avoid can set you up for long-term energy savings. You can also explore how solar solutions are designed to work with your roof’s existing structure and condition.
In this blog, you’ll learn:
- Why flat roofs are a great match for solar energy
- Step-by-step details of the installation process
- Key advantages unique to flat solar systems
- Tips for maximizing energy output and roof performance
- Common mistakes to avoid when planning your install
Why Flat Roofs Make Sense for Solar
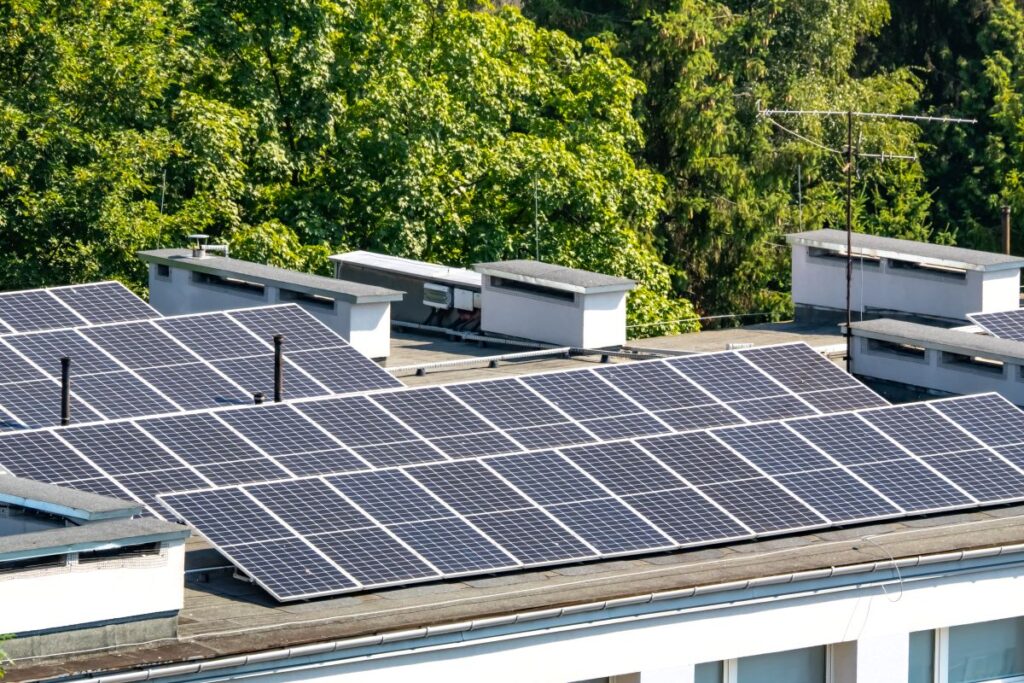
Flat roofs offer more than just visual simplicity—they provide strategic advantages for solar energy production. Whether you’re looking to lower your monthly bills or increase property value in Chapel Hill, NC and surrounding areas, here’s why a solar setup on a flat roof is worth considering:
- Flexible Panel Placement: Installers can optimize the tilt and orientation of panels for maximum sun exposure, unlike sloped roofs which limit direction.
- Simplified Maintenance Access: Flat surfaces make inspections and cleaning safer and more manageable over time.
- Minimal Aesthetic Disruption: Panels on a flat roof are often out of direct sight, preserving your home’s curb appeal.
- Ideal for Commercial & Residential: Flat roofs are common on both residential homes and commercial buildings in the area.
- Future-Proofing Energy Costs: With rising utility prices, flat roof solar provides long-term stability and savings.
6 Key Steps for Flat Roof Solar Installation
Installing a solar array on a flat roof follows a specific sequence to ensure structural integrity, performance, and compliance with local codes. Below is a step-by-step guide to what the process typically includes.
1. Site Evaluation and Solar Assessment
Your project begins with a detailed inspection of the roof and surrounding area. This includes measuring usable space, evaluating sun exposure throughout the year, and reviewing shading from trees or nearby buildings.
- Structural load capacity is assessed
- Roof age and material are checked for suitability
- Solar software may be used to project estimated output
This step helps determine whether reinforcements or roof repairs are needed before moving forward.
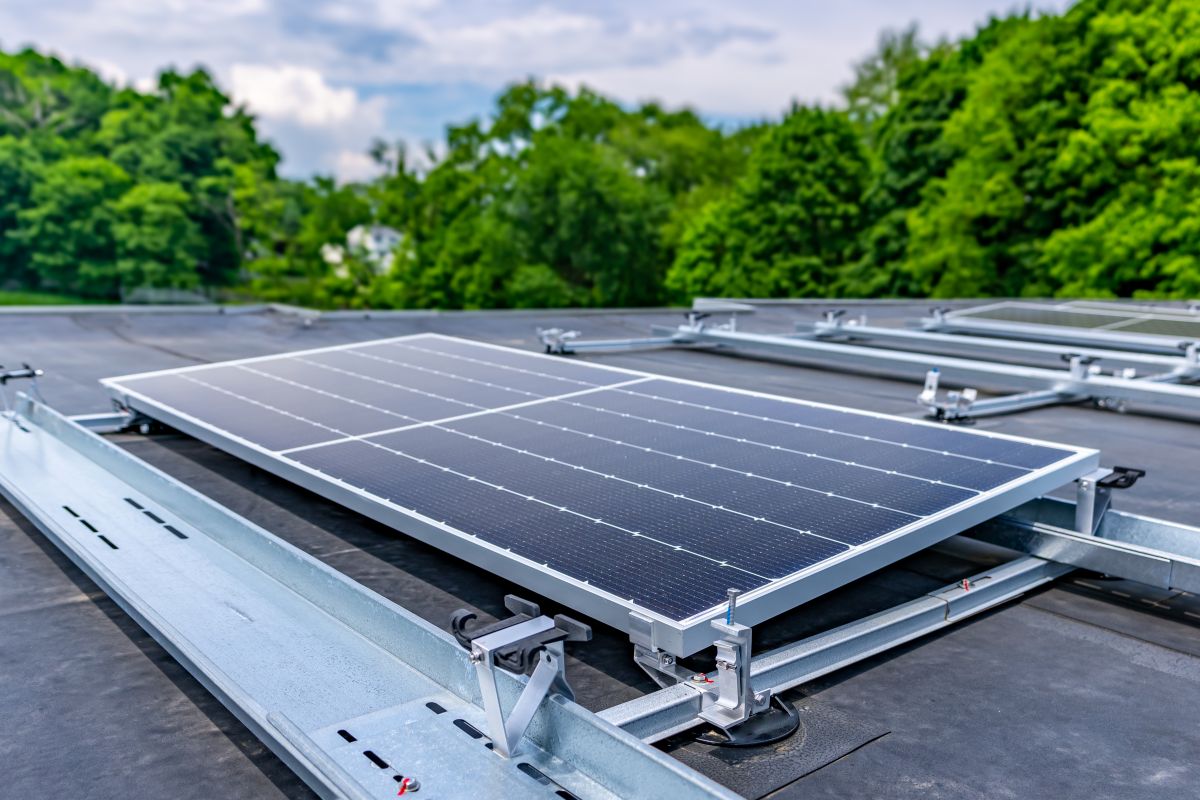
2. Choosing the Mounting System
Flat roofs use different types of mounting systems than pitched roofs. Your installer will recommend the best fit based on wind loads, local regulations, and building orientation.
- Ballasted Mounts: Weighted down with concrete blocks, no roof penetration required
- Penetrating Mounts: Attached to the roof structure with fasteners
- Hybrid Mounts: Combine both for maximum stability and flexibility
Mounting systems also determine the panel tilt angle, which directly affects efficiency.
3. Designing Panel Layout and Wiring Plan
The solar contractor will create a custom layout tailored to your roof dimensions, shade conditions, and energy goals. This includes designing wiring pathways to your electrical panel and inverter setup.
- Panels are spaced to avoid shading from one another
- Inverters and conduits are placed for accessibility
- Proper drainage paths are maintained on the roof
A poor design here can compromise performance, so attention to detail matters.
4. Permitting and Utility Approval
Before installation can begin, your solar provider must submit designs for local permitting and grid interconnection approval.
- Permit timelines vary by jurisdiction
- Utility applications are required for net metering agreements
- Inspection schedules are coordinated with the project timeline
In Chapel Hill, NC and surrounding areas, some homeowners’ associations may also require approval.
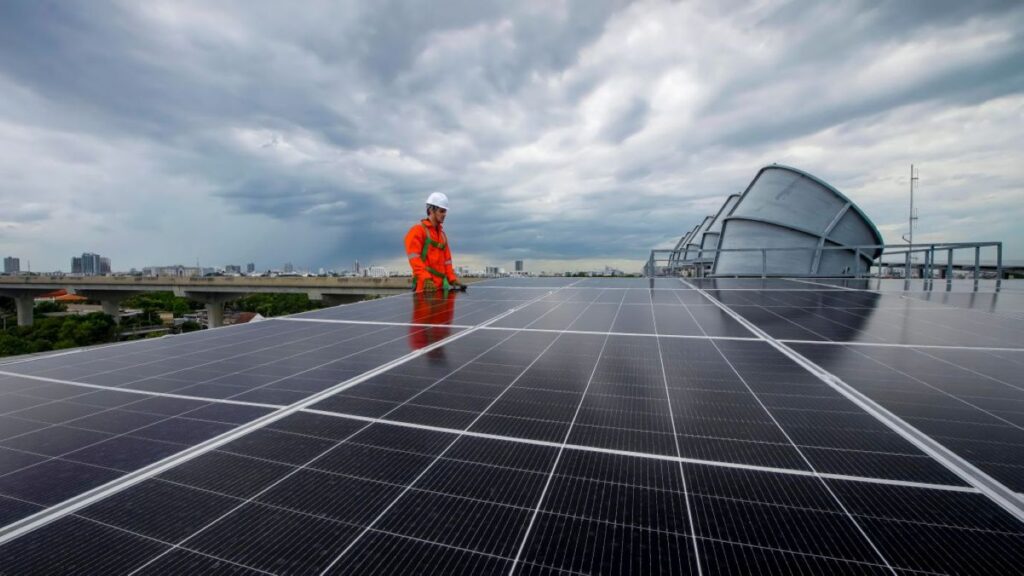
5. Installation of Mounts, Panels, and Electrical Equipment
Once permits are secured, the actual installation usually takes 2–5 days depending on system size. This includes mounting the racking system, placing panels, wiring components, and connecting inverters and batteries (if applicable).
- Panels are securely mounted to prevent uplift
- Wiring is routed cleanly and safely
- Final connections are made to the main electrical service
Professional crews also ensure all work is sealed properly to protect the roof from leaks.
6. Final Inspection and System Activation
After installation, a local building inspector and utility representative will inspect the system for code compliance and safety. Once approved, the utility will issue Permission to Operate (PTO).
- System is turned on and connected to the grid
- Monitoring apps are activated for real-time tracking
- Homeowners receive instructions for operation and maintenance
With PTO in hand, you’re officially generating your own clean energy.
Key Advantages Unique to Flat Roof Solar Systems
Flat roof solar isn’t just possible—it often brings distinct benefits that sloped systems can’t match. Here are a few notable perks to keep in mind:
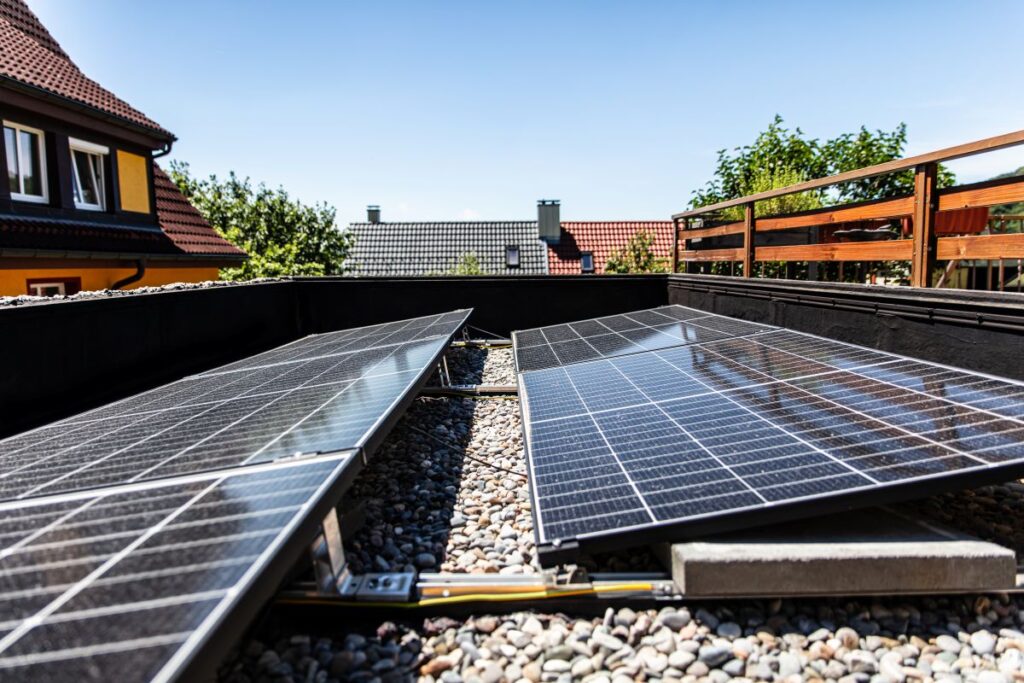
Tilt Optimization
- Panels can be angled perfectly regardless of roof orientation
- Helps boost winter energy production when the sun is lower
No Roof Penetration (with Ballasted Systems)
- Ballasted mounts protect roofing membranes from punctures
- Ideal for TPO, EPDM, or modified bitumen surfaces
Room for Future Expansion
- Flat roofs typically offer more usable surface area
- Easier to add panels later if energy needs increase
Battery Storage Flexibility
- Flat roofs often accommodate external battery units or energy hubs nearby
- Streamlines integration with off-grid or hybrid systems
Cleaner Aesthetic
- Low-profile setups stay out of sight from the street
- Especially helpful for historic homes or neighborhoods with strict HOA rules
Tips for Maximizing Solar Performance on Flat Roofs
Getting solar installed is only part of the equation. To get the most out of your investment, these additional tips can help maximize performance and lifespan.
Maintain Proper Tilt Angles
- Most systems aim for 15–30 degrees of tilt
- Too flat and panels can gather debris; too steep reduces exposure in winter
Clean Panels Periodically
- Dust, pollen, and bird droppings can lower output
- Most homeowners clean panels 2–4 times per year, or hire a service
Monitor Shading Over Time
- Trees grow, and buildings change—check for new shade annually
- Relocating panels or trimming branches can restore efficiency
Inspect Mounts and Wiring Annually
- Make sure ballast weights haven’t shifted
- Look for signs of corrosion or water pooling around mounts
Pair with Energy Storage or Smart Home Systems
- Add batteries to store energy for use at night or during outages
- Use smart thermostats to shift usage to peak solar hours
What About Costs and Return on Investment?
While prices vary, a flat roof solar installation typically falls in the same range as pitched installations, depending on roof complexity and system size. Here’s what to consider when evaluating the investment:
| Feature | Approximate Impact |
| System Size | 5–10 kW common for residential use |
| Upfront Cost | $15,000–$30,000 before incentives |
| Federal Tax Credit | 30% off total system cost |
| Payback Period | 6–10 years, depending on usage |
| Lifetime Savings | $20,000–$60,000 over 25+ years |
Flat roofs can offer slightly lower install labor costs due to easier access. In regions like Chapel Hill, NC and surrounding areas, solar output is consistent enough year-round to support long-term returns.
Make sure to ask about financing, leasing, and rebate programs. Many utility companies in North Carolina offer additional solar incentives.
Thinking About Solar in Chapel Hill, NC?
If you’ve been on the fence about solar, now is the time to act. A flat roof solar installation offers an incredible combination of performance, flexibility, and return on investment—especially when tailored to your home or business in Chapel Hill, NC and surrounding areas. With utility prices on the rise and incentives still available, installing solar today can set you up for decades of cleaner, more affordable energy.
To see if your property is a good fit for solar, system size estimates, or available incentives, contact us today to schedule your solar consultation with ROOF TIGER.

Ferocious Roofing

They are extremely professional and responsive, made some great suggestions along the way, and handled every little issue that came up without complaint.