

How To Install Drip Edge On Your Roof In 6 Steps
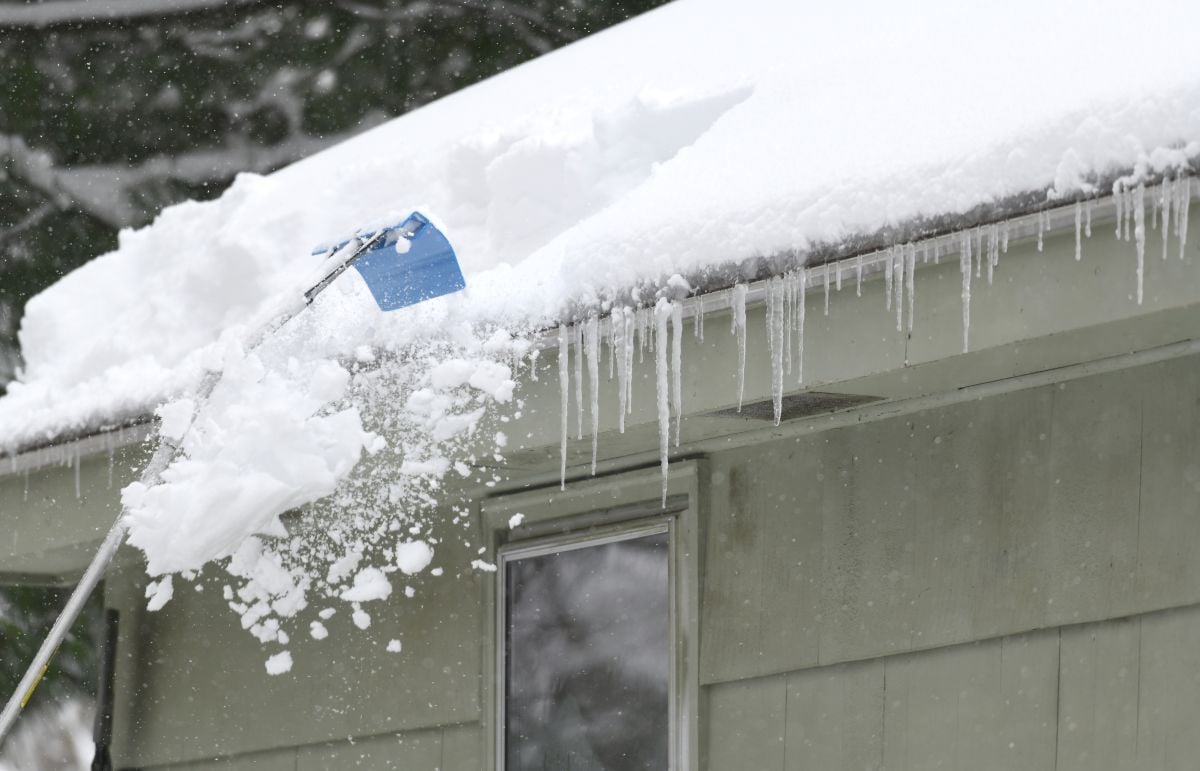
If you want to protect your home from water damage, wind-driven rain, and premature roof deterioration, understanding the role of drip edge is essential. Though small in size, this metal flashing detail plays a huge role in keeping your roof system strong, especially during heavy rain or snow in Bloomington and surrounding areas. Unfortunately, many older homes were built without it—or with poorly installed versions—leading to rot and foundation issues over time.
Whether you’re tackling a repair yourself or want to understand what your roofer is doing, learning how to properly install drip edge can make a significant difference in your roof’s longevity. You can explore additional installation and protection options by visiting our roofing solutions page, where you’ll find insight into roof repairs, replacements, and materials that work best for Midwest homes.
Here’s what you’ll learn in this guide:
- What drip edge is and why it’s essential for your roof
- How it prevents long-term structural and water damage
- The exact steps to install drip edge correctly
- Mistakes to avoid during installation
- Tips for maintaining a strong and watertight edge
Why Drip Edge Is So Important For Your Roof
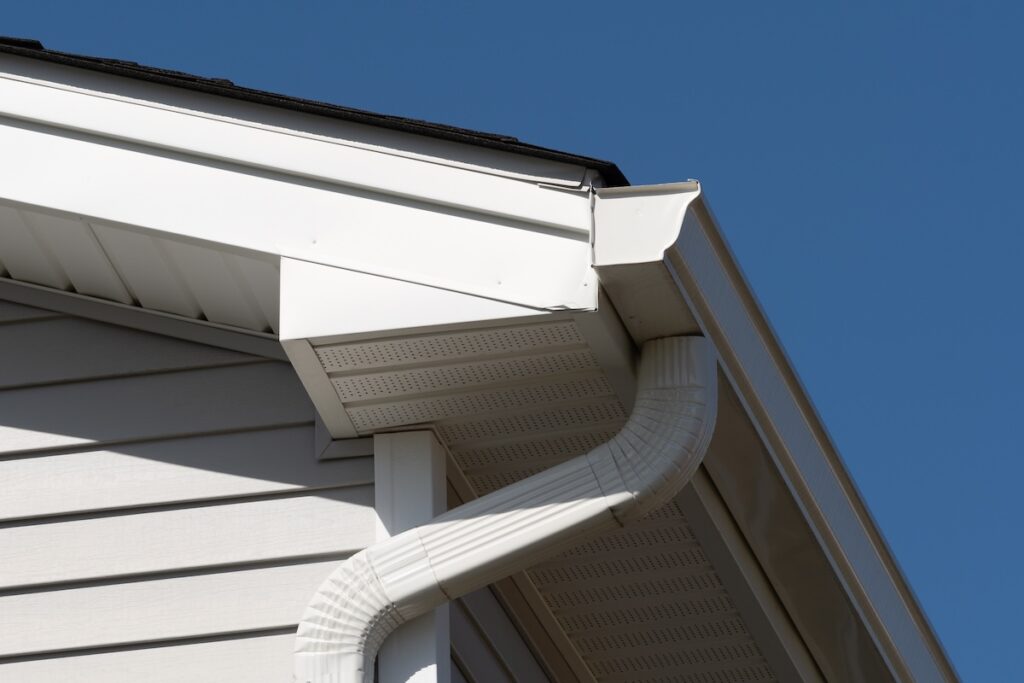
Drip edge is a small but mighty piece of flashing that sits along the edges of your roof, directing rainwater away from the fascia and into the gutters. Without it, water can easily sneak behind the gutter, saturating the wooden fascia board and eventually seeping into your home’s structure. Over time, this can cause rot, mold, and costly repairs.
Here are the main reasons every roof should have drip edge installed:
- Prevents Water Damage: It redirects water away from the fascia and underlayment, ensuring no moisture gets trapped.
- Protects Roof Decking: By sealing the edges, it keeps the plywood decking from becoming waterlogged or rotting over time.
- Improves Gutter Performance: Drip edge ensures water flows smoothly into the gutter instead of dripping behind it.
- Enhances Roof Longevity: This extra barrier helps extend the lifespan of your entire roof system by preventing damage from the edges inward.
- Gives a Clean, Finished Look: Beyond protection, drip edge creates a crisp, professional line that boosts your home’s curb appeal.
6 Steps To Install Drip Edge On Your Roof
Installing drip edge properly ensures that your roof performs as intended, especially during heavy storms. Homeowners in Bloomington and surrounding areas can benefit from this step-by-step guide that outlines both the process and best practices for long-lasting results.
1. Gather the Right Tools and Materials
Before you start, make sure you have everything you need. Skipping the right equipment or using low-quality materials can lead to improper installation and future water issues.
You’ll need:
- Drip edge flashing (aluminum or galvanized steel)
- Roofing nails (galvanized for durability)
- Hammer or nail gun
- Tin snips or metal shears
- Roofing cement or sealant
- Ladder, gloves, and safety gear
Choose a color and style that complements your shingles and gutters. For most roofs, “L-style” or “T-style” drip edge profiles are the most common and effective options.
2. Remove Old Shingles or Gutters (If Needed)
If you’re replacing an old roof or retrofitting a drip edge, you may need to remove the first course of shingles and possibly loosen sections of your gutter.
Take care not to bend or crack your shingles during removal. Damaged shingles can allow water infiltration even after the drip edge is installed.
In older Bloomington homes, it’s common to find that drip edge flashing wasn’t originally included, so adding it now is a smart way to protect your investment.
3. Install the Drip Edge Along the Eaves First
The eaves—where the roof meets the gutter—are your first installation area. The drip edge should sit under the underlayment at the eaves but over it along the rakes (the sloped edges). This creates a proper drainage path for rainwater.
To install:
- Start at one end of the eave and align the drip edge so the bottom edge hangs about ½ inch over the fascia.
- Nail it down every 10 to 12 inches using galvanized nails.
- Overlap each section by at least 2 inches to ensure no gaps where water could seep in.
This ensures water runs directly into the gutters and doesn’t get trapped behind them.
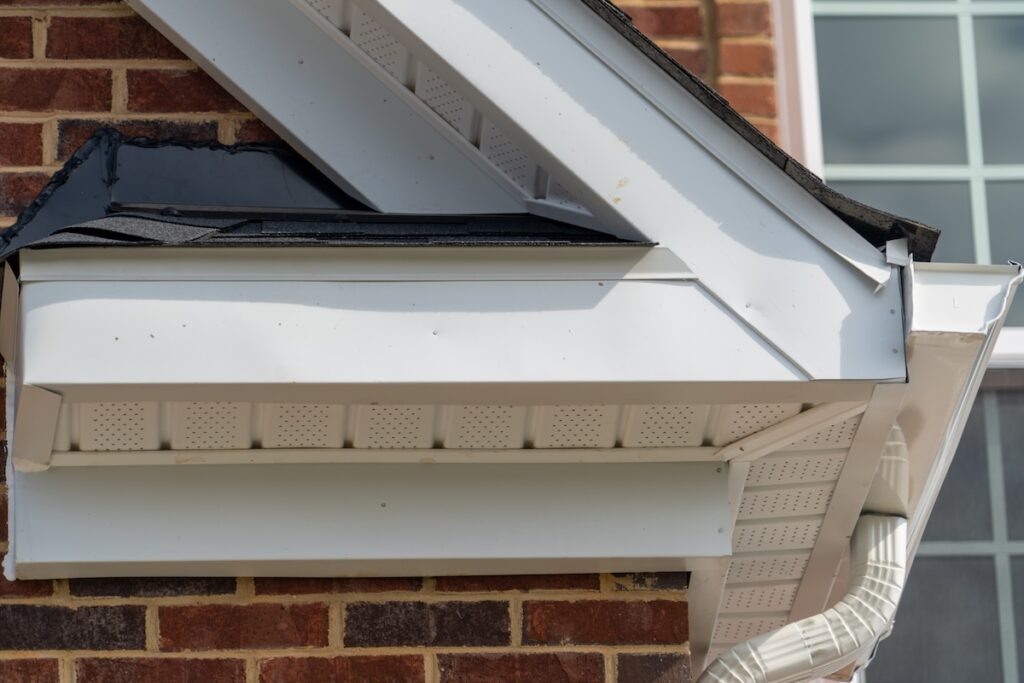
4. Secure Drip Edge Along the Rakes
Once the eaves are complete, move to the rake edges of your roof. Unlike the eaves, the rake drip edge goes over the underlayment. This setup prevents wind-driven rain from sneaking under your roofing material.
Here’s how to do it:
- Lay the rake drip edge so it overlaps the eave edge piece by at least 2 inches.
- Nail every 10 to 12 inches, similar to the eaves.
- Make sure all corners and overlaps are flush and tight to prevent water from entering under the flashing.
This configuration ensures your roof remains watertight even during the toughest storms.
5. Seal Corners and Overlaps
Once all the drip edge pieces are nailed down, apply roofing cement or sealant to every joint, corner, and overlap. Even a small gap can cause major issues if left unsealed.
Focus on:
- The corners where eave and rake edges meet
- Any visible seams between overlapping sections
- The underside edges near gutters for added protection
A thin bead of sealant is usually all you need. Overdoing it can make the surface uneven or attract dirt and debris.
6. Reinstall Shingles and Check Alignment
Now that the drip edge is in place, reinstall the first course of shingles so they slightly overhang the metal edge by about ¼ to ½ inch. This helps direct water efficiently into the gutters.
Double-check that:
- Shingles are lying flat and aligned evenly
- The drip edge is fully covered by the shingle overhang
- Water flows smoothly off the roof without dripping behind the gutters
Take a step back and inspect your work. The edges should look uniform, with no visible gaps or bent sections. If everything looks good, you’ve successfully installed your drip edge!
Common Drip Edge Installation Mistakes To Avoid
Even a simple job like installing drip edge can go wrong if you miss key details. Homeowners in Bloomington and surrounding areas often make small errors that lead to big headaches later.
- Incorrect Overlap: Always overlap sections by at least 2 inches. Failing to do so creates gaps where water can enter.
- Wrong Placement of Underlayment: Remember—under at the eaves, over at the rakes. Getting this backward can trap water instead of redirecting it.
- Using Too Few Nails: Skimping on fasteners causes loose flashing that bends or rattles in high winds.
- Skipping Sealant: Leaving joints unsealed may allow wind-driven rain to penetrate under the edge.
- Ignoring Aesthetic Alignment: Uneven edges can hurt your roof’s appearance and reduce gutter performance.
Avoiding these mistakes ensures your roof’s edges remain durable, watertight, and visually clean for years to come.
Enhancing Roof Protection Beyond Drip Edge
While drip edge is an essential layer of defense, it works best when paired with other protective measures. Here’s how to build a complete moisture barrier for your home:
- Install Ice and Water Shield: This self-adhesive underlayment adds an extra layer of waterproofing in critical areas like valleys and eaves.
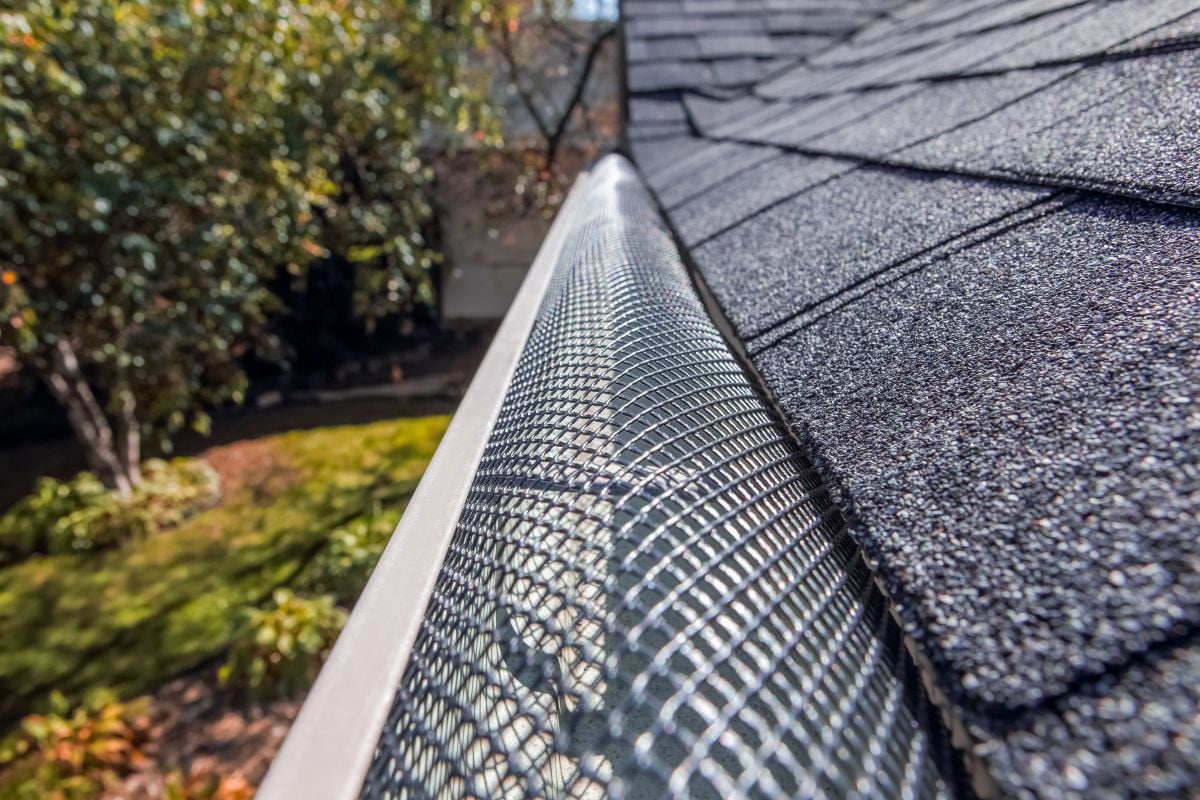
- Upgrade Your Gutter System: Ensure your gutters are clean, properly sloped, and securely attached so water flows efficiently away from your roofline.
- Inspect Flashing Regularly: Around chimneys, skylights, and vents, flashing is another weak point that benefits from routine sealing and maintenance.
- Maintain Adequate Attic Ventilation: Proper airflow prevents heat buildup and condensation, both of which can shorten your roof’s lifespan.
- Schedule Annual Roof Inspections: A professional inspection ensures every component, from the drip edge to the ridge cap, performs as intended.
Together, these measures strengthen your roof’s defense against moisture and weather-related damage.

Comparing Drip Edge Materials
Choosing the right drip edge material can make a difference in performance and aesthetics. Here’s a quick comparison to help you decide which option fits your home best:
| Material | Pros | Cons |
| Aluminum | Lightweight, rust-resistant, available in many colors | Can dent easily during installation |
| Galvanized Steel | Extremely durable, affordable | May corrode if coating is damaged |
| Copper | Long-lasting and stylish, naturally resists corrosion | Expensive and harder to find |
| Vinyl | Budget-friendly and easy to cut | Less durable in extreme weather |
For most Bloomington homeowners, aluminum or galvanized steel are the go-to choices for long-term reliability at a reasonable cost.
Keep Your Roof in Peak Condition with ROOF TIGER
Installing drip edge properly might seem like a small detail, but it plays a big role in the health and performance of your entire roofing system. Without it, rainwater and melting snow can cause unseen damage that spreads quickly. By following these six steps—or working with trusted professionals—you can ensure your roof stays watertight and resilient in any season.
The team at ROOF TIGER has extensive experience helping homeowners in Bloomington and surrounding areas with roof repairs, replacements, and detailed installations that stand the test of time. We focus on craftsmanship, education, and transparency, so you always know your home is protected by experts who care about results.
If you’re ready to strengthen your roof or have questions about adding drip edge to your existing system, contact us todayto schedule your inspection or service appointment.


Ferocious Roofing

They are extremely professional and responsive, made some great suggestions along the way, and handled every little issue that came up without complaint.